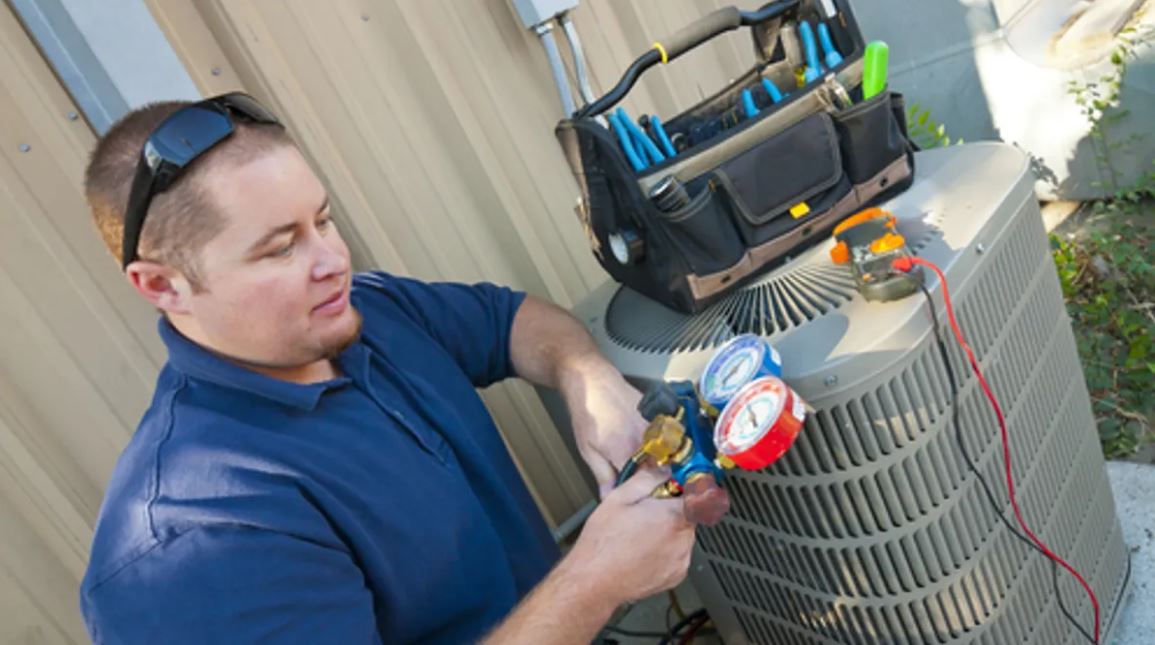
How To Fix An AC Compressor
Compressor holds the importance in the Air conditioning system as the heart holds in the body. It is the component that makes the cool air blow and exerts warm air. The compressor has all the major processes going inside it while you are sitting in your chilled room with the Air conditioner on. If the compressor of an air-conditioning system fails it may cause the unit to malfunction or collapse completely.

Air condition repair is a specialized area that needs to be treated by professionals; however, some people with zero knowledge about the air conditioning process, zero skills, and experience go for it which causes even more harm to the unit and compressor itself. If you can diagnose the problem with your AC unit, it’s better to call for a professional to fix it rather than doing it on your own. Go for an AC compressor repair service in Centreville.
The compressor is home to a majority of the components of the air-conditioning system which also involves a motor that is used to turn a piston that compresses the refrigerant contained in the system which is contained under high pressure and the motor needs to use the windings at full speed to get the system running. This describes the functionality of the AC compressor.
Without digging deep into the anatomy and working structure of the compressor let’s have a look into some of the ways to fix an AC compressor that has stopped working.
-
Inspect the compressor:
Have a detailed look inside the compression to examine whether all the components of the compressor are working fine or not. The most common reason for compressor malfunction is due to the swollen capacitor or dead capacitor. A capacitor is an oval or cylindrical shape that is fixed inside the condenser electrical panel. If the capacitor is swollen or has a lid that is leaking. It needs to be replaced by the same component.
-
Remove wires from inside of the compressor:
Make sure that you remove all the wires connected from the inside of the compressor. Before opening the lid of your compressor make sure that the circuit breaker is turned off, which if on can be of extreme danger. You can use nose pliers to hold the wires and disconnect them rather than doing it with bare hands. The wire from the condenser connects to the capacitor that is marked with a label com. The wire from the compressor connects to the herm terminal on the capacitor.
-
Plugin your multimeter to check capacitance:
Connect your multimeter to each capacitor terminal to check the readings. Make sure that the multimeter is switched to capacitor settings. The reading of the multimeter should remain 10% of the reading of the capacitor. If the rating is not as described, replace the capacitor and re-attach the condenser wires to their terminals respectively.
-
Check the wire connectors:
Check if the wire connectors are attached properly to the terminals of compressors. Make sure the terminals don’t look worn out or burnt. If they do replace the terminals using a professional terminal repair kit with a pile of instructions on it. Make sure that you fix the terminals in the right place to avoid a spark that may cause fire at any time.
-
Inspect the amperage:
Connect your multimeter again to the terminals to check the amperage. Clamp the probe to the black wire leading to the common terminal in the compressor. Note down the maximum startup amperage and the running amperage for the condenser.
-
Replace the compressor cover:
After you are done with checking the amperage, replace the compressor cover using a screwdriver. Make sure that you use the correct screwdriver head to avoid damage to the screws.
These DIY steps can help you fox your compressors but there can be some complex issues with the compressor as well that cannot be fixed yourself. opt for a technician or compressor repair specialist to fix the complex issues that deal directly with earth wires that can be dangerous to deal with without a safety kit and proper tools.


